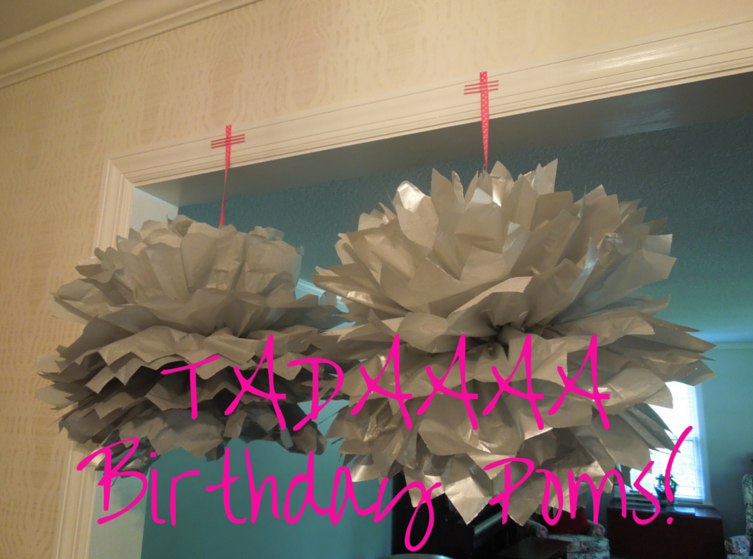
DIY Birthday Poms!
A few weeks ago, when I had my “Eliza Jane’s first birthday shopping spree at Michael’s” {that’s only what I called it to our family}
I bought everything {I hope!} we will need for her party. The one thing I couldn’t find was gray poms, so I purchased tissue paper with the firm conviction that I would and could make them.
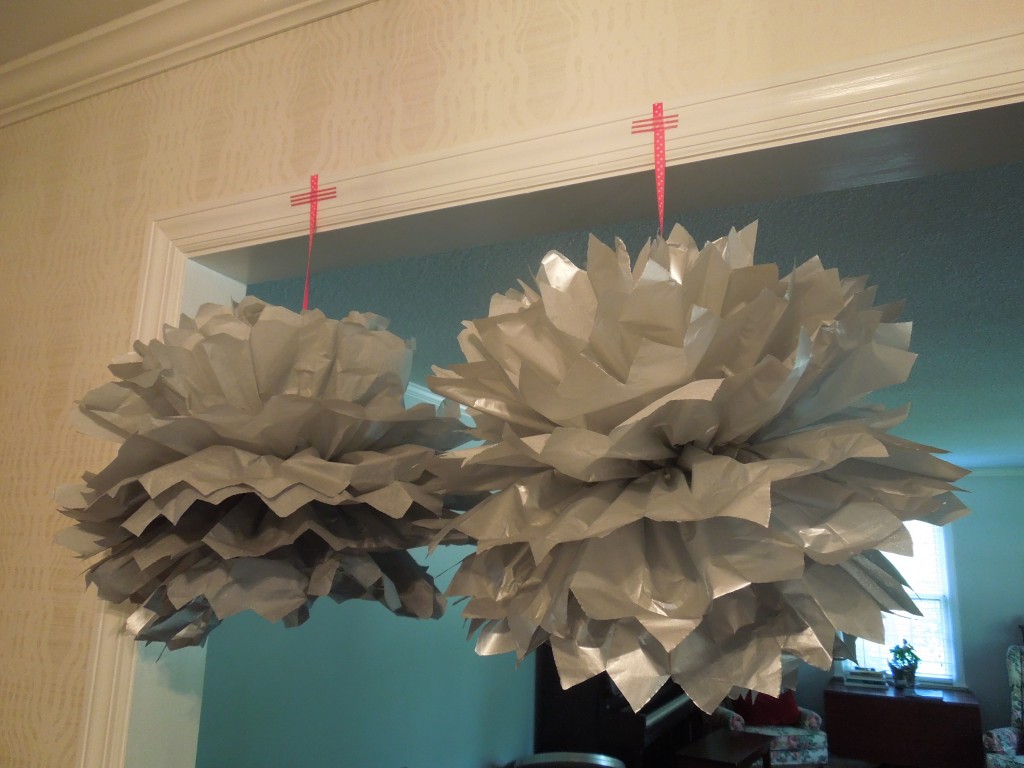
Well…..I’m so proud of myself right now…I made gray tissue poms this afternoon!!

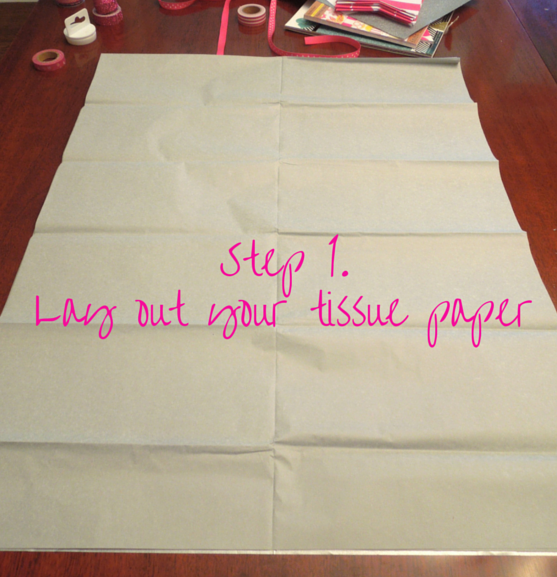
 And for everyone out there, the few of you, that haven’t tackled this simple art project…I’ve got a step-by-step photo shoot below!
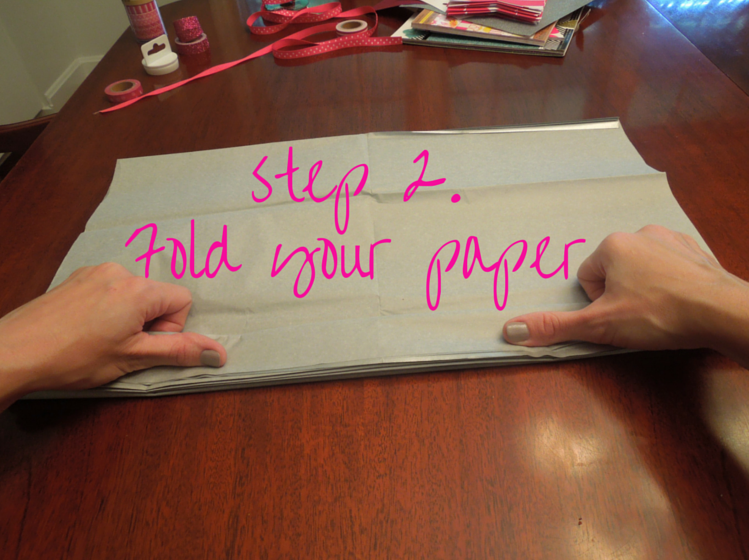
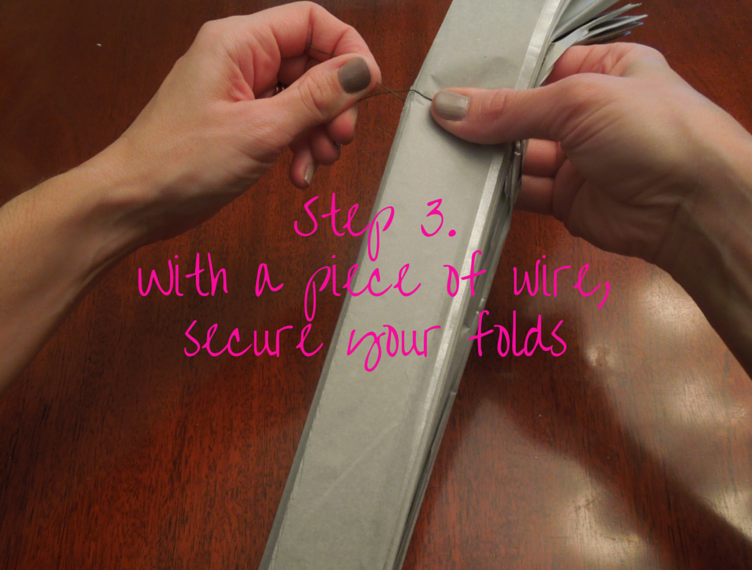 At this point, if you wanted to cut the ends to a “V” or round them off, you would. And then fan out the folds. Also, tie any piece of fishing line, ribbon, etc. that you are using to hang the pom to the piece of wire you used to secure the folds. Once it’s pulled apart, it’s harder to find the wire – just trust me, I’m telling you from experience 🙂
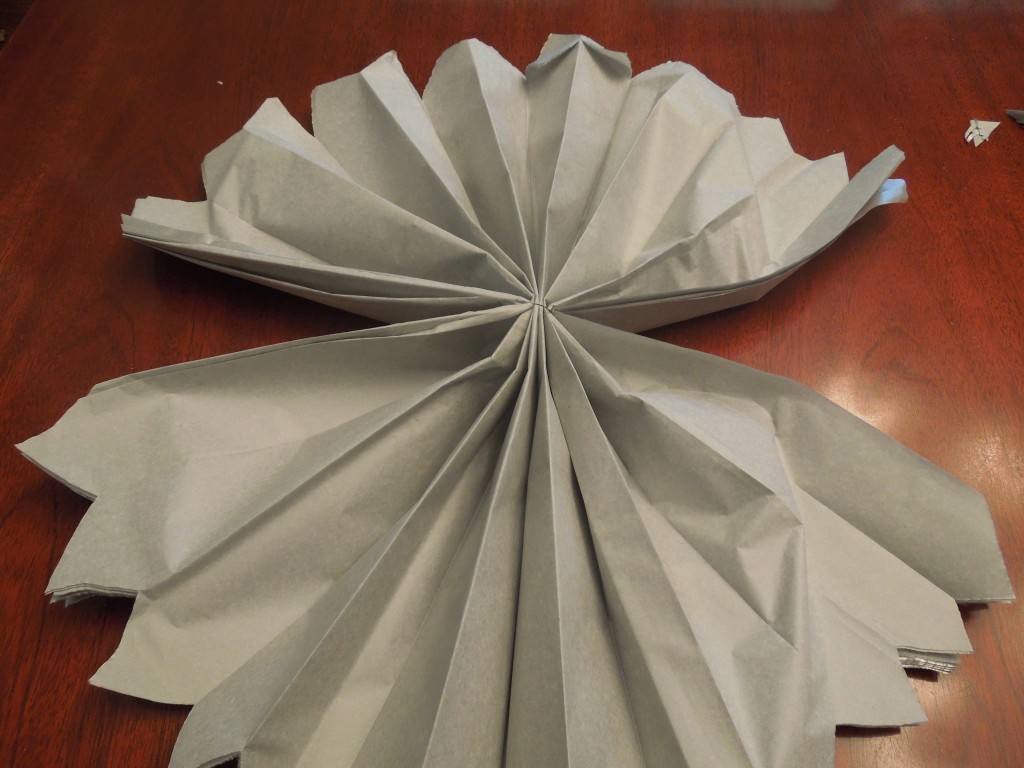

A few other small details:
- I used eight sheets of tissue paper
- My paper is metallic on one side, so I used four sheets facing one way, and the other four facing another (they faced each other, if that makes sense)
- My folds were 1.5-2 inches wide
- I used floral wire because that’s what I have in my craft basket
- When you cut off the ends, you can only cut 2-3 folds at a time, unless of course you have some fancy shears
- I used a piece of ribbon to hang these poms because they are going to be used in Eliza Jane’s 1st Birthday part decor in a few weeks
It took me about 10-15 minutes to make each one from start to finish, so an easy Saturday afternoon project {while the kids are sleeping!}!
Were you able to do something fun and productive today? Happy weekend!


