Nautical Lamp {Saturday Project}
 ………
………
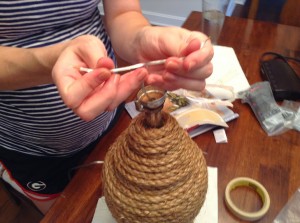
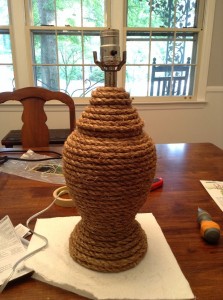


 ………
………


OMG!!!! I can’t even begin to tell y’all how incredibly excited I am that 1. this bathroom is FINALLY done! Oct. 4th was the flood and 5 days later this bathroom got torn apart! And 2….that it is just as pretty as it can be and is the ONLY room in our home that…

Y’all. I. AM. SO. EXCITED!!!!!!!! Giddy, really. And I can’t wait for you to see the finished product! {Don’t you dare scroll straight to the bottom!!} If you read my post last night you found out about one of our weekend projects. The traditional black patio set that was lost among the oak tree. Last night…
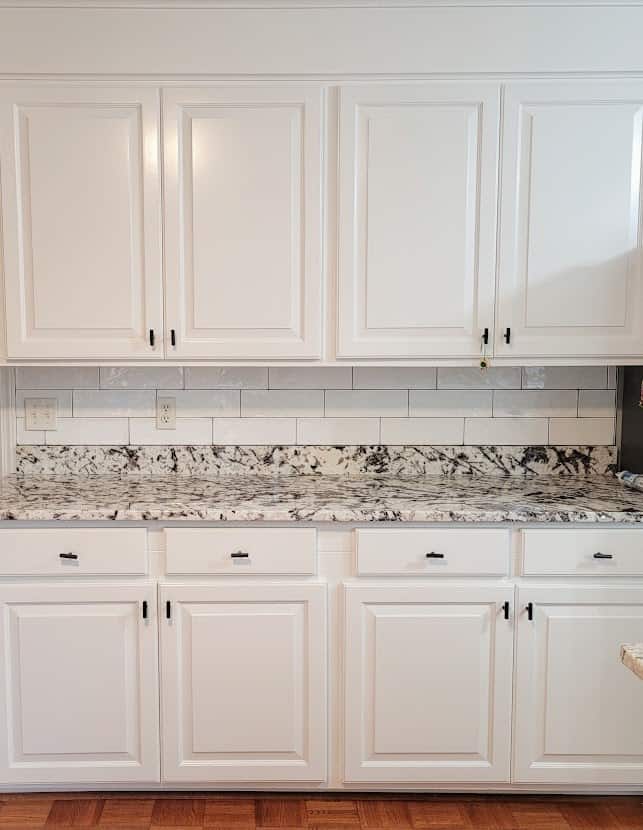
Can I first tell you that I’ve never had a kitchen backsplash in any of my three homes? Not a single one that I have been a part of purchasing have had a backsplash. Is that odd or normal? I think I first found it odd that our kitchen didn’t have a backsplash, but then…
The same Saturday that Reynolds and I purchased Eliza Jane’s dresser, I started painting the bookcase that would be in her room. I’d gotten ideas from HGTV Magazine as well as Pinterest on how I wanted it to look. If you recall from the post where I made a bow frame for Eliza Jane, I…
I started this little project a few weekends ago..actually, the weekend that Andrew was in Vegas. That just tells you how long it’s taking for me to get things done around here…sigh. But this is one more thing we can check off our list! Whooohooo! Although, it has absolutely nothing to do with Eliza Jane!…

This afternoon a co-worker friend of mine walked into my office and said, “Whatcha doin’ this weekend?” Trying not to sound completely exhausted, I said “I have no idea, I haven’t gotten to the point of thinking about the weekend.” When, really, I had….I had already planned out the projects I wanted to attack…